I'm one of those parents who enjoys a good Halloween theme for costumes. This year, when E decided to be Merida from Brave, after she saw the first teaser trailer, I was a little stumped on what to make the rest of us be. Especially when I found out I was pregnant back in June. E wanted me to be the "Green Queen" and wear the pretty dress, but there was no way that preggo Kristin was making a maternity medieval dress. Especially when Miss E's Merida costume was picked up at Costco for a steal of a deal (wig, dress, petticoat, and belt for $18!).
So, I compromised with my 4 yr old. I told her I'd be Queen Elinor. As the bear. (the Hubs went his own way and dressed up as Crazy Dave from Plants vs Zombies)
I didn't get a full picture of myself, but my sister's shot of Merida and Queen Elinor is fantastic.
 |
| RAWR! |
I realize this is a bit late, but if you are like us, you are already planning next year's Halloween costume. We're awesome like that/
For this costume you will need:
- a fuzzy sweater (I picked mine up at Costco - it's reversible, thankfully, so I can wear it during the rest of the year and not look like a cheap Zaza Gabor)
- a black tshirt
- dark grey sweat pants
- a crown (I raided E's dress up bin)
- a pair of Bear Ears (tutorial to follow)
How to make Bear Ears
Cut two 4" diameter circles from black felt.
Fold one circle in half and cut a slight angle at the bottom. Make sure to have left over sequins from a Homecoming dress alteration littered around your work space. That way everyone knows you are lazy.
like so.
Repeat with second circle, so you have two circles with a wide V at the bottom
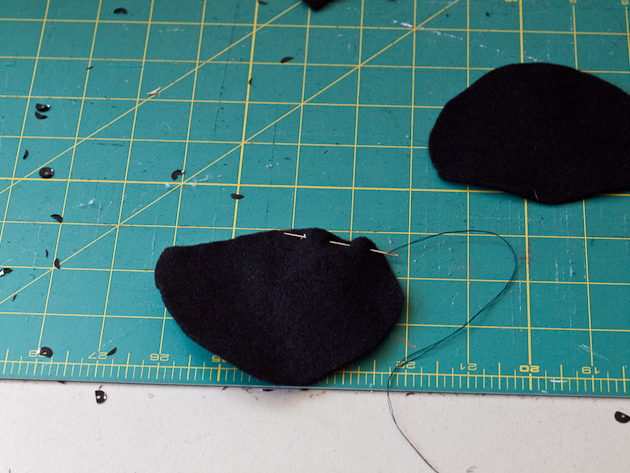
Hand baste along the angled bottom of the circle.
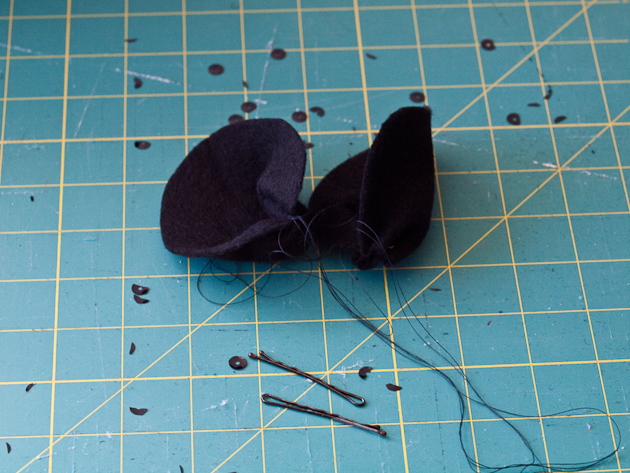
Gather and tie a knot to secure.
Repeat with second circle and grab two bobby pins.
Attach one ear to one bobby pin. I hand sewed mine, but you could easily use hot glue.
Repeat with second ear and viola, you're done! Now slap a crown on your head, pin the ears in, and call yourself Queen Elinor Bear!
Super easy, non?